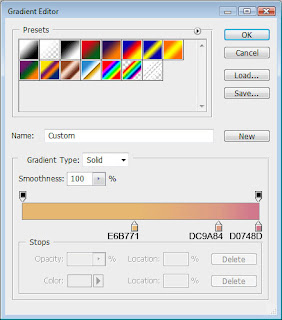
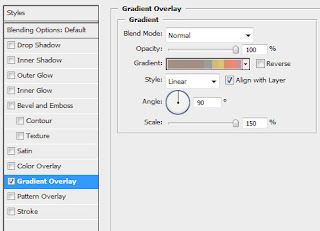
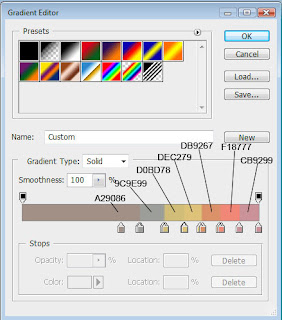
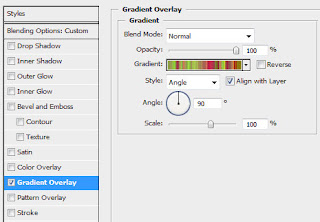
For the beginning create a new file (File>New) of 1280x1024 px and 72 dpi. Select the Rectangle Tool (U) to stretch the element on the whole layer to represent the backside background. Select then the Blending Options>Gradient Overlay to set the next parameters, demonstrated below:

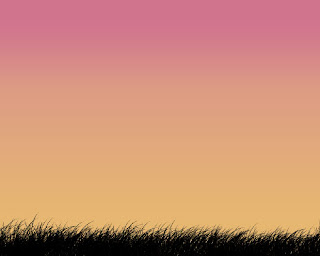
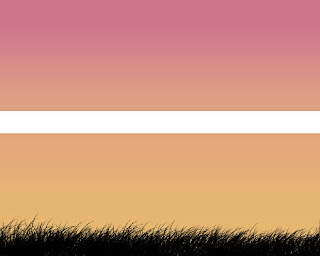
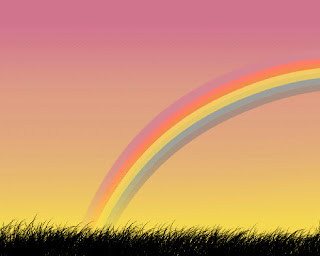
This is the way the new background should look like:

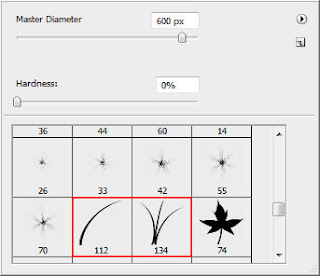
On a new layer we’ll represent the grass. In this case we’ll select the
Brush Tool (B) and two standard brushes of two types, as it is indicated below:
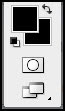
Set both black colors on the tools’ panel:
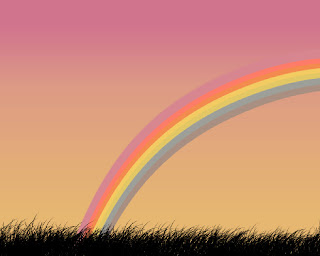
… and represent the grass the next picture indicates it:
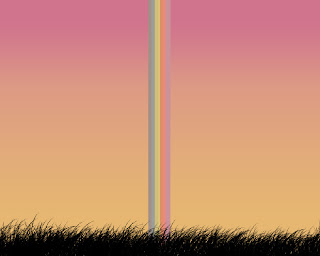
Continue by representing the rainbow, drawing firstly a line by applying the same method we did with the background:
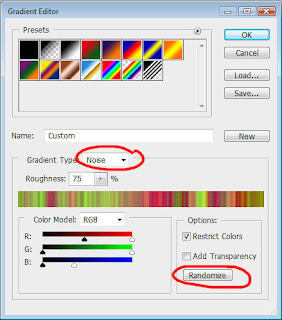
Set the next indicated parameters:
We’ve got a rainbow line:

Create a new layer, marking it on the layers’ palette both with the line’s layer. Press Ctrl+E for the layers to be put together:
Select after that Filter>Distort>Shear to modify the line as it is shown below:
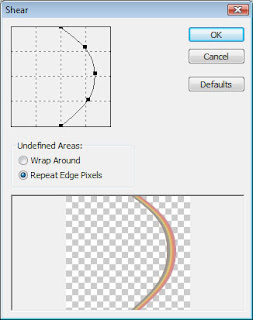
You must get the same thing:
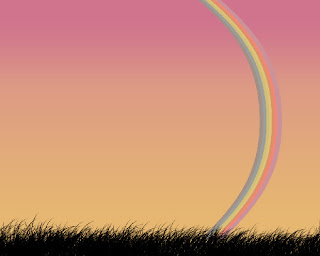
Turn it over with Free Transform option (Ctrl+T)
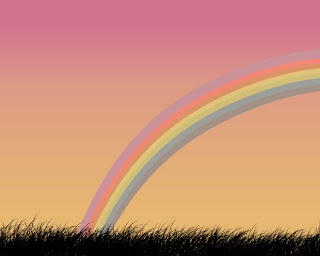
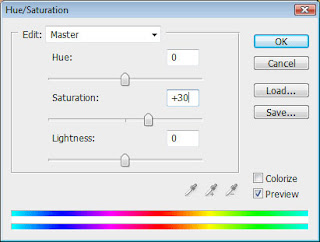
Increase the lightness (Ctrl+U):
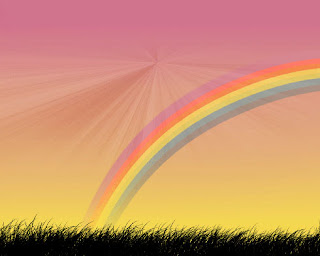
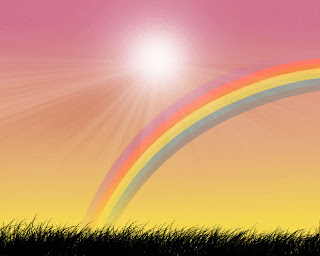
You must get the next result on this stage:
Using the brush of yellow color, try to add on the picture more mist between the layer with the grass and the one with the rainbow:
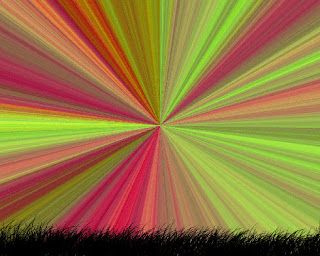
Applying the Rectangle Tool (U), make a new rectangle, applying the next Blending Options:
It’s the result we must get, but the color of the lines is not so important:
Provide the same rasterizing operation that we did with the rainbow’s layer. Press Ctrl+Shift+U, making it this way a monochromatic one.
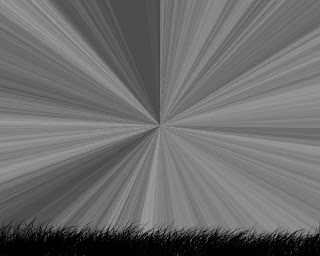
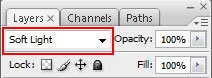
Set the same Blending Mode shown below:
Applying the
Eraser Tool (E), try to move off those parts of the layer demonstrated next picture:
Make a spot of white color, choosing the brush for this operation:
Select the
Paint Bucket Tool (G) to fill the new layer with white color and then insert on the layers’ panel the mask containing the cloud effect (Filter>Render>Clouds)
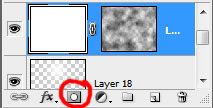
You must get the same result from below:
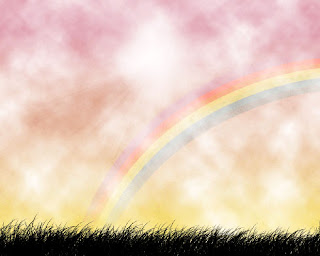
Using the Eraser Tool (E), try to move off the unnecessary parts to give the clouds a corresponding shape.
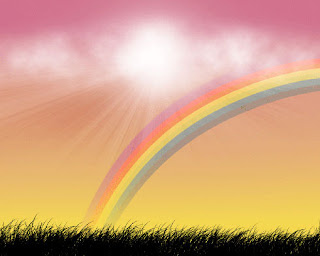
Next insert a vector character out of the own library.

 This is the way the new background should look like:
 On a new layer we’ll represent the grass. In this case we’ll select the Brush Tool (B) and two standard brushes of two types, as it is indicated below:
 Set both black colors on the tools’ panel:
 … and represent the grass the next picture indicates it:
 Continue by representing the rainbow, drawing firstly a line by applying the same method we did with the background:
 Set the next indicated parameters:
 We’ve got a rainbow line:
 Create a new layer, marking it on the layers’ palette both with the line’s layer. Press Ctrl+E for the layers to be put together:
 Select after that Filter>Distort>Shear to modify the line as it is shown below:
 You must get the same thing:
 Turn it over with Free Transform option (Ctrl+T)
 Increase the lightness (Ctrl+U):
 You must get the next result on this stage:
 Using the brush of yellow color, try to add on the picture more mist between the layer with the grass and the one with the rainbow:
 Applying the Rectangle Tool (U), make a new rectangle, applying the next Blending Options:
 It’s the result we must get, but the color of the lines is not so important:
 Provide the same rasterizing operation that we did with the rainbow’s layer. Press Ctrl+Shift+U, making it this way a monochromatic one.
 Set the same Blending Mode shown below:
 Applying the Eraser Tool (E), try to move off those parts of the layer demonstrated next picture:
 Make a spot of white color, choosing the brush for this operation:
 Select the Paint Bucket Tool (G) to fill the new layer with white color and then insert on the layers’ panel the mask containing the cloud effect (Filter>Render>Clouds)
 You must get the same result from below:
 Using the Eraser Tool (E), try to move off the unnecessary parts to give the clouds a corresponding shape.
 Next insert a vector character out of the own library.


No comments:
Post a Comment