The next layer has the color #DA1818
Next layer has the color #AF0102
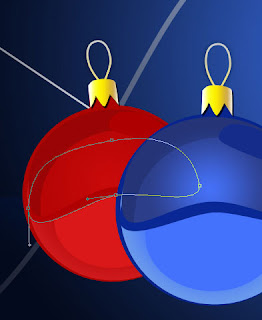
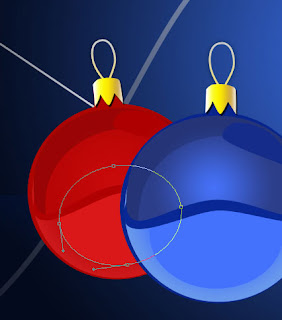
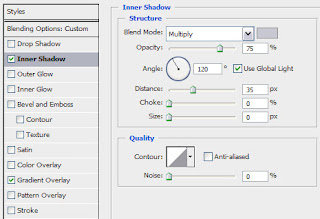
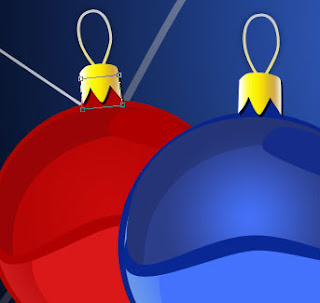
Next we have to change the top part of the ball: Fill 0% Blending Options>Inner Shadow
Blending Options>Gradient Overlay
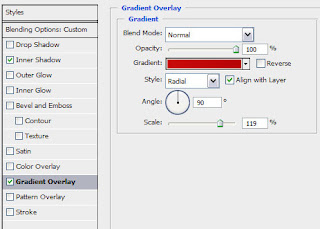
Gradient’s parameters:
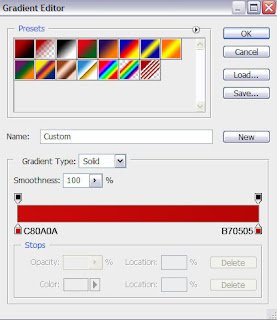
This is the color of the lateral shadow - #AE0001
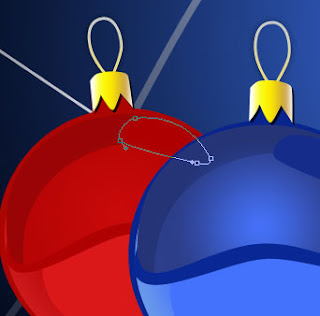
The color of the top part of the ball’s attachments is #AC0500
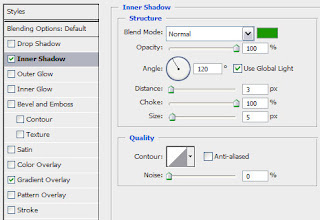
Next we’ll change the parameters for the green ball The primary layer: Blending Options>Inner Shadow
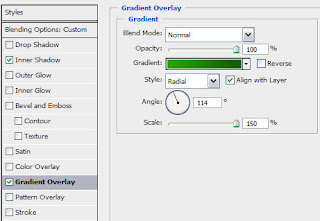
Blending Options>Gradient Overlay
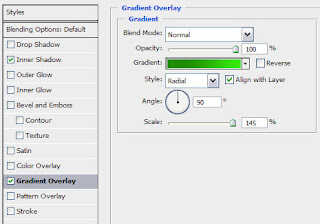
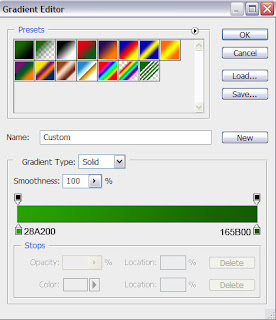
Gradient’s parameters:
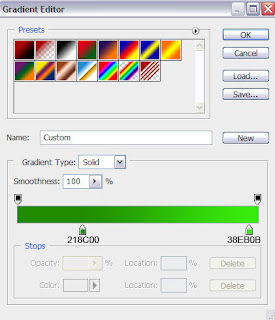
The next layer has the color #2CAB02
Next layer has the color #1B6802
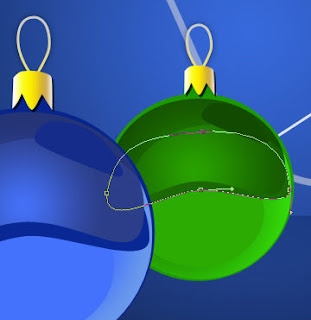
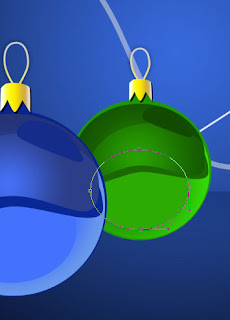
The parameters for the top part: Fill 0% Blending Options>Inner Shadow
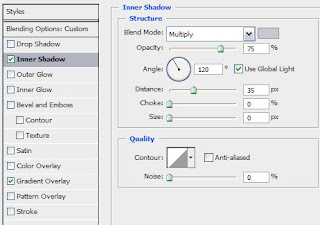
Blending Options>Gradient Overlay
Gradient’s parameters:
The color of the upper shadow on the right top is #124B00
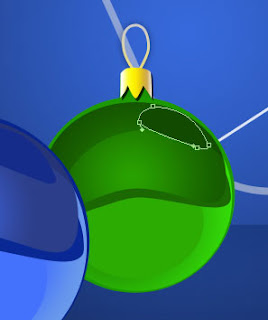
Make a copy of each ball’s group. Mark out the copy and press Ctrl+E. Do this operation with each copy. The copies may be turned over with the Free Transform selection, changing the sizes, as it is represented on the next picture. This way we’ll get a reflection.
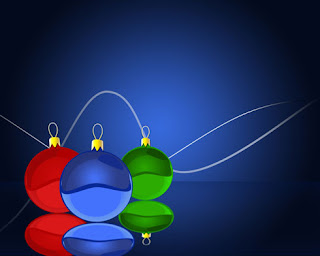
Mark out the layer containing the reflection and make a mouse click on the bottom part of the layers’ palette on Add a Mask selection. Choosing the
Gradient Tool (G) of black color, represent the semi transparency:


Selecting the
Ellipse Tool (U), try to make three similar layers for shadows and after that place them under the balls’ layers. The color is white.
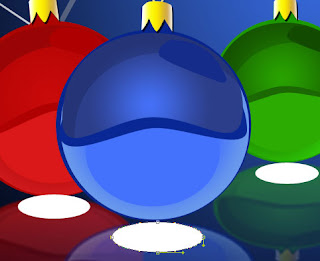
Apply the same parameters for the layers containing the white shadows. Fill 20%

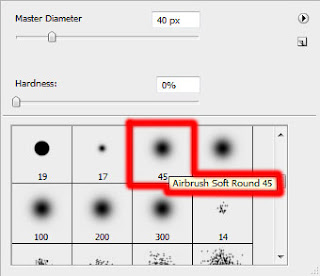
Create a new layer on which we must insert several white dots of different sizes, placed around the ribbons. In this case we have to choose the
Brush Tool (B).

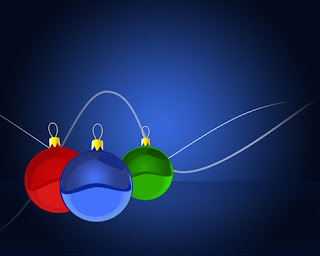
Finished!
 Next layer has the color #AF0102
 Next we have to change the top part of the ball: Fill 0% Blending Options>Inner Shadow
 Blending Options>Gradient Overlay
 Gradient’s parameters:
 This is the color of the lateral shadow - #AE0001
 The color of the top part of the ball’s attachments is #AC0500
 Next we’ll change the parameters for the green ball The primary layer: Blending Options>Inner Shadow
 Blending Options>Gradient Overlay
  Gradient’s parameters:
 The next layer has the color #2CAB02
 Next layer has the color #1B6802
 The parameters for the top part: Fill 0% Blending Options>Inner Shadow
 Blending Options>Gradient Overlay
 Gradient’s parameters:
 The color of the upper shadow on the right top is #124B00
 Make a copy of each ball’s group. Mark out the copy and press Ctrl+E. Do this operation with each copy. The copies may be turned over with the Free Transform selection, changing the sizes, as it is represented on the next picture. This way we’ll get a reflection.
 Mark out the layer containing the reflection and make a mouse click on the bottom part of the layers’ palette on Add a Mask selection. Choosing the Gradient Tool (G) of black color, represent the semi transparency:
 Selecting the Ellipse Tool (U), try to make three similar layers for shadows and after that place them under the balls’ layers. The color is white.
 Apply the same parameters for the layers containing the white shadows. Fill 20%
 Create a new layer on which we must insert several white dots of different sizes, placed around the ribbons. In this case we have to choose the Brush Tool (B).
 Finished!
No comments:
Post a Comment