Create a new file (File>New) of 1280x1024 px and 72 dpi, which must be painted in #F9C559 color with the
Paint Bucket Tool (G).

Next we’ll create another file of 140x140 px and 500 dpi on which we’ll draw a black ring, applying the
Ellipse Tool (U). Firstly try to make the outside borders of the ring and after that cut out its middle part, pressing on Alt button.
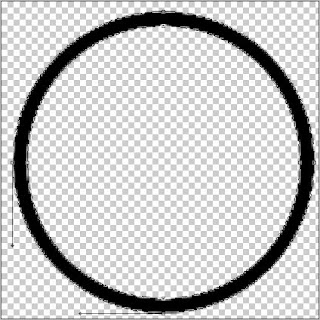
Save this brush: Edit>Define Brush Preset. Create a new layer, using on it the brush made earlier (the brush may be found in the end, in the standard set).
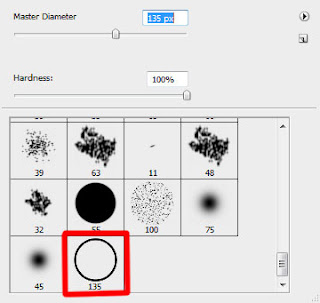
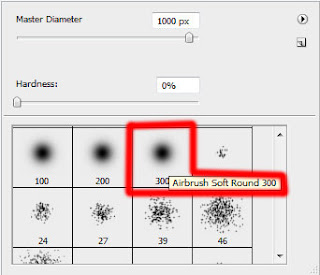
Set the parameters for this brush. Press the option in the Brushes submenu on the right side.

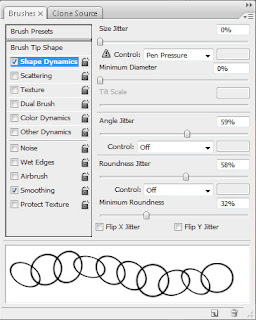
Represent the background of the picture to be, applying the brush with the chosen earlier parameters. Its color is #CC9040
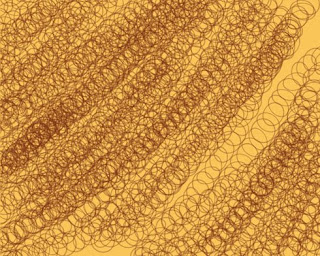
Set the next indicated parameters by making a click on this layer on the layers’ panel: Fill 40% Blending mode-Linear Dodge
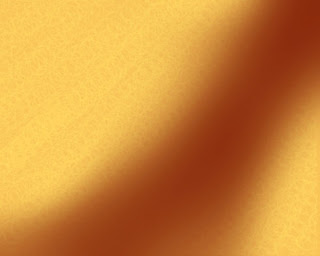
On the next new layer (Create new layer) we’ll choose again the
Brush Tool (B) to draw a diagonal line, which color is #821F06
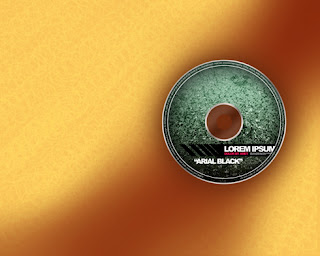
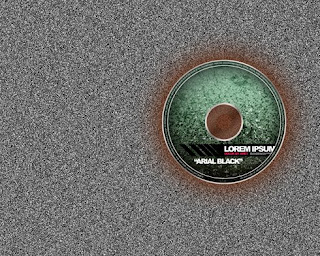
Insert now on the picture your CD (I will use CD template created by
Inonomas).
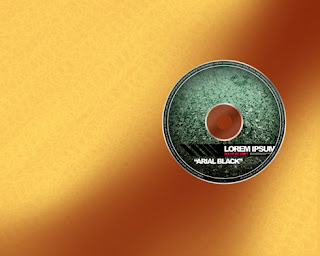
The disk’s layer has the parameters shown below: Blending Options>Outer Glow

Using the standard brush, try to dark out the background situated lower than the CD itself. The color is #1E0C04. This layer should be placed lower than the layer containing the disk.
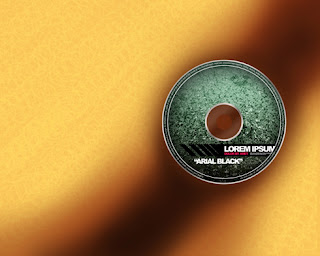
The layer’s parameters: Fill 60% Blending mode-Darker Color
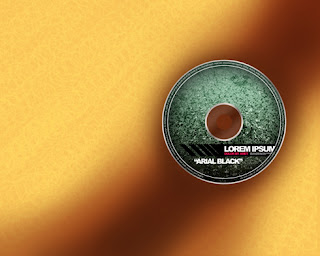
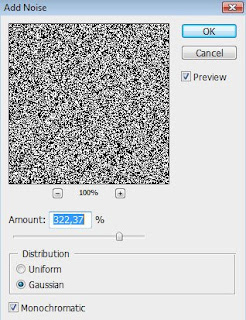
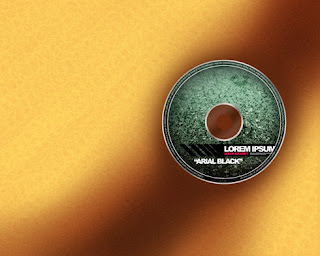
Create a new layer on which we’ll use the Paint Bucket Tool (G) to fill the new layer with black color. Choose after that this filter’s option: Filter>Noise>Add noise. This layer must be also placed lower than the CD’s layer:
The layer’s parameters: Fill 20% Blending mode-Soft light
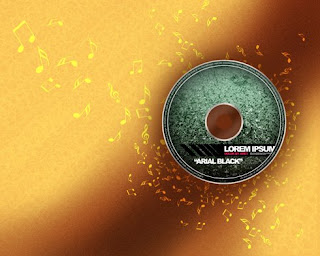
Next we’ll represent a lot of musical notes, using for this operation the
Custom Shape Tool (U) and the color #FEFF6F

Turn around the notes, using the Free Transform selection. Place also these notes’ layers lower than the layer containing the CD.

Next we must Merge down all the layers containing the musical notes into a single one. In this case we have to press Ctrl button for marking the necessary layers and after that press Ctrl+E. For the last obtained layer we have to choose the next demonstrated parameters: Opacity 81%, Blending mode- Overlay

Make a copy of the last made layer:
Mark out the layer containing the CD and make a click on the next options, situated on the bottom part of the layers’ panel: Create new fill or adjustment layer>Channel Mixer

 This is the way the new background should look like:
 On a new layer we’ll represent the grass. In this case we’ll select the Brush Tool (B) and two standard brushes of two types, as it is indicated below:
 Set both black colors on the tools’ panel:
 … and represent the grass the next picture indicates it:
 Continue by representing the rainbow, drawing firstly a line by applying the same method we did with the background:
 Set the next indicated parameters:
 We’ve got a rainbow line:
 Create a new layer, marking it on the layers’ palette both with the line’s layer. Press Ctrl+E for the layers to be put together:
 Select after that Filter>Distort>Shear to modify the line as it is shown below:
 You must get the same thing:
 Turn it over with Free Transform option (Ctrl+T)
 Increase the lightness (Ctrl+U):
 You must get the next result on this stage:
 Using the brush of yellow color, try to add on the picture more mist between the layer with the grass and the one with the rainbow:
 Applying the Rectangle Tool (U), make a new rectangle, applying the next Blending Options:
 It’s the result we must get, but the color of the lines is not so important:
 Provide the same rasterizing operation that we did with the rainbow’s layer. Press Ctrl+Shift+U, making it this way a monochromatic one.
 Set the same Blending Mode shown below:
 Applying the Eraser Tool (E), try to move off those parts of the layer demonstrated next picture:
 Make a spot of white color, choosing the brush for this operation:
 Select the Paint Bucket Tool (G) to fill the new layer with white color and then insert on the layers’ panel the mask containing the cloud effect (Filter>Render>Clouds)
 You must get the same result from below:
 Using the Eraser Tool (E), try to move off the unnecessary parts to give the clouds a corresponding shape.
 Next insert a vector character out of the own library.


