For the beginning create a new file (File>New) of 1280x1024 px and 72 dpi. Select after that the
Paint Bucket Tool (G) and give the new file the color #7EC21D

Next select the Rectangle Tool (U) and represent several vertical lines that will form the wallpapers. The color’s code is #008C7F

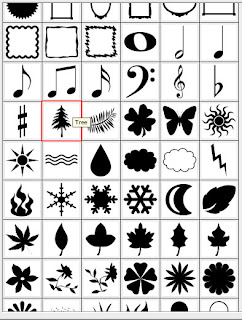
Next choose the
Custom Shape Tool (U) and pick up a fir tree’s figure:
Place them on the basic picture by copying them firstly (Ctrl+J) as it is represented below, selecting the color of the lines.
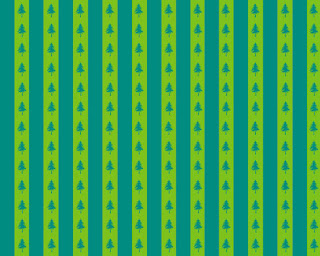
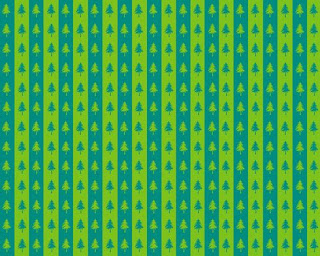
Place them also on the lines, choosing the color of the background this way getting the wallpapers we want:
Next take the
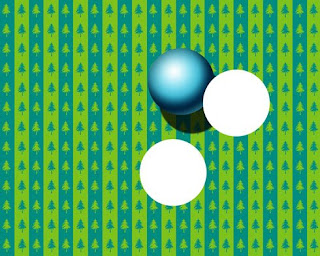
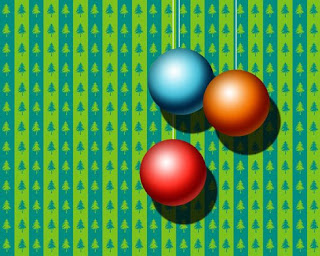
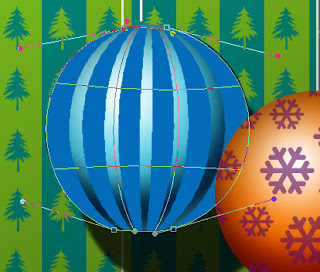
Ellipse Tool (U) and draw three circles of the same sizes, later becoming nice fir tree’s balls:

Set the next Blending Options>Drop Shadow for the very top circle by making a mouse click on its layer on the layers’ panel:
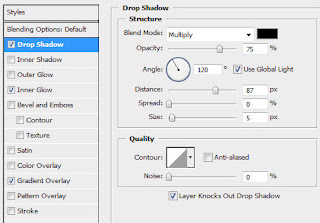
Follow all the settings from below:


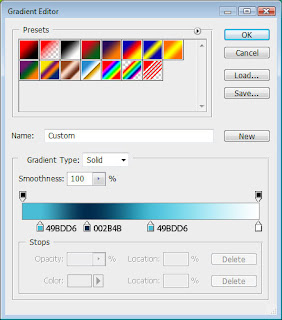
We’ve got finally a ball:
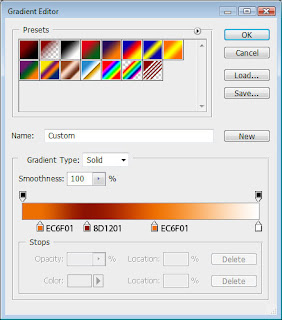
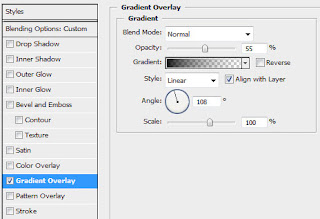
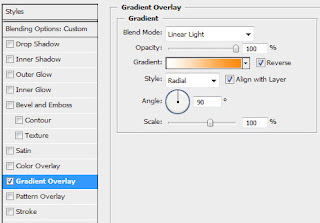
Do the same operations with those two circles too, but change their gradients. The rest of the settings are the same with the first one:
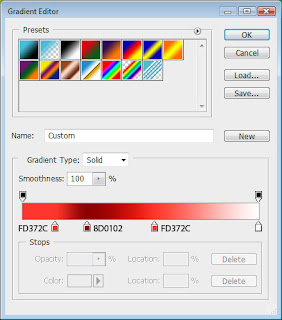
You should get the same thing from below:

All the balls are already made:

Take now the
Line Tool (U) and represent the toys’ threads:
Select the Rectangle Tool (U) and stretch out the figure on the whole canvas. Fill 0% on the layer on the layers’ panel and set the next demonstrated Blending Options:
The new layer we’ve got must be situated under the layers containing the balls and the threads:
Now let’s decorate the balls. Select again the
Custom Shape Tool (U) and choose on the top panel the star and the snowflake figures:
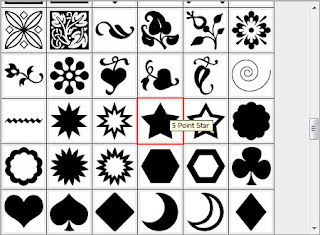
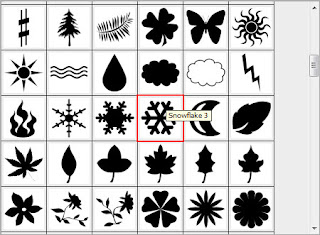
Select for the beginning the snowflake and represent a kind of decoration like the next one. Its color’s code is #5E0B61. Mark out all the layers with the snowflakes applying the (Ctrl+Left Click) on the layers’ palette. Then press Ctrl+E for the layers to be put into a single one. Erase the elements coming outside the ball’s edges, applying the
Eraser Tool (E).
Next, let’s place the stars on the picture:
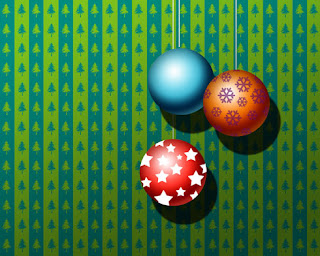
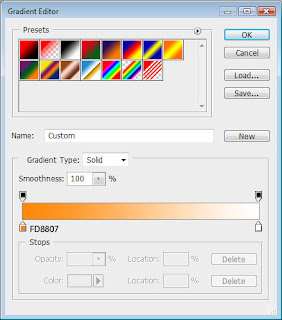
Put together all the layers containing the stars as we did with the snowflakes’ layers. Set the next gradient’s parameters:
The unnecessary elements should be erased. You should get the next picture on this stage:
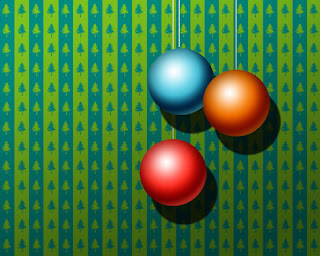
Now let’s make several lines we as we did with the wallpapers. The color’s code is #0B296F. Put together all the layers, applying the next transformation (Ctrl+T). Click on the right mouse’s buttons, choosing the Warp option. Fill 40% on the layers and select Blending mode-Linear Light
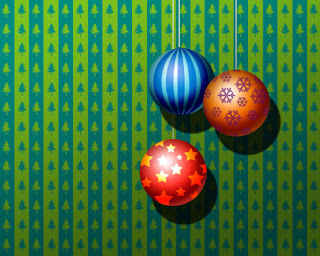
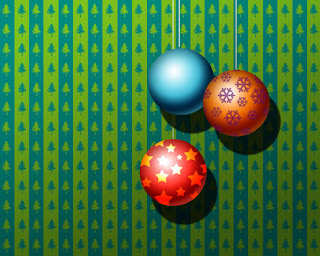
The final result!
 Next select the Rectangle Tool (U) and represent several vertical lines that will form the wallpapers. The color’s code is #008C7F
 Next choose the Custom Shape Tool (U) and pick up a fir tree’s figure:
 Place them on the basic picture by copying them firstly (Ctrl+J) as it is represented below, selecting the color of the lines.
 Place them also on the lines, choosing the color of the background this way getting the wallpapers we want:
 Next take the Ellipse Tool (U) and draw three circles of the same sizes, later becoming nice fir tree’s balls:
 Set the next Blending Options>Drop Shadow for the very top circle by making a mouse click on its layer on the layers’ panel:
 Follow all the settings from below:

 We’ve got finally a ball:
 Do the same operations with those two circles too, but change their gradients. The rest of the settings are the same with the first one:
 You should get the same thing from below:
 All the balls are already made:
 Take now the Line Tool (U) and represent the toys’ threads:
 Select the Rectangle Tool (U) and stretch out the figure on the whole canvas. Fill 0% on the layer on the layers’ panel and set the next demonstrated Blending Options:
  The new layer we’ve got must be situated under the layers containing the balls and the threads:
  Now let’s decorate the balls. Select again the Custom Shape Tool (U) and choose on the top panel the star and the snowflake figures:
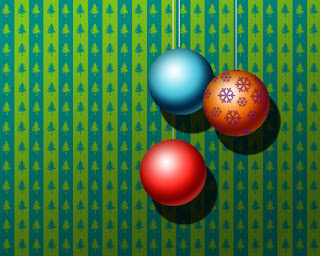
 Select for the beginning the snowflake and represent a kind of decoration like the next one. Its color’s code is #5E0B61. Mark out all the layers with the snowflakes applying the (Ctrl+Left Click) on the layers’ palette. Then press Ctrl+E for the layers to be put into a single one. Erase the elements coming outside the ball’s edges, applying the Eraser Tool (E).
 Next, let’s place the stars on the picture:
  Put together all the layers containing the stars as we did with the snowflakes’ layers. Set the next gradient’s parameters:
 The unnecessary elements should be erased. You should get the next picture on this stage:
 Now let’s make several lines we as we did with the wallpapers. The color’s code is #0B296F. Put together all the layers, applying the next transformation (Ctrl+T). Click on the right mouse’s buttons, choosing the Warp option. Fill 40% on the layers and select Blending mode-Linear Light
 The final result!
No comments:
Post a Comment