Next we’ll make the next operation: create by new layers above each layer containing by line. Mark out the layer with the line and situated above it the new layer (pressing Ctrl button) and finally press Ctrl+E. This way the layers containing the lines will rasterize themselves.

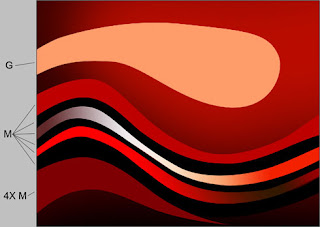
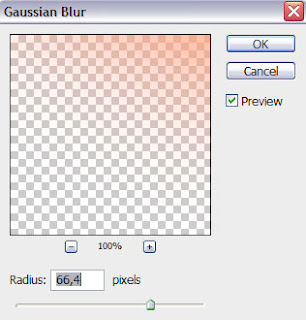
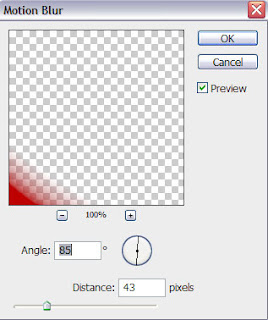
On the marked lines that you may see below, apply the filters Gaussian blur (G), Motion blur (M). 4X – the multiple applying of the Motion blur.
Filter>Blur>Gaussian blur
Filter>Blur>Motion blur

On the marked lines’ layers below, make a mouse click on the bottom part of the layers’ palette on Add a Mask selection and use a standard
Brush Tool (B) (Opacity of 20%) and black color to erase the edges, the same way demonstrated next picture.
 On the marked lines that you may see below, apply the filters Gaussian blur (G), Motion blur (M). 4X – the multiple applying of the Motion blur.
 Filter>Blur>Gaussian blur
 Filter>Blur>Motion blur
 On the marked lines’ layers below, make a mouse click on the bottom part of the layers’ palette on Add a Mask selection and use a standard Brush Tool (B) (Opacity of 20%) and black color to erase the edges, the same way demonstrated next picture.

 Put together the layers containing the lines into a single rasterized layer. In this case press Ctrl button to mark out the lines’ layers and then press Ctrl+E. Select for the new layer that we’ve got the next option: Filter>Sharpen>Unsharp mask
 Using the Pen Tool (P) and the Convert Point Tool, try to make several lines of white color. This will compose a fir tree silhouette.

 Next step includes using a set of brushes for Adobe Photoshop, named: stars_and_blinks. Create after that a new layer and apply on it the shown brush below of white color to represent the snowflakes. The snowflakes must be situated between the horizontal lines, belonging to the fir tree.


No comments:
Post a Comment