 Next we’ll represent a kind of geometrical figure, like the next one, applying the Pen Tool (P).
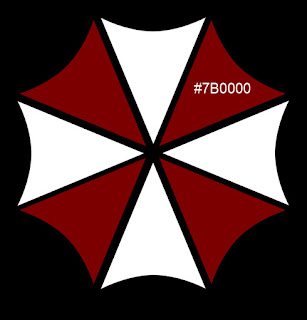
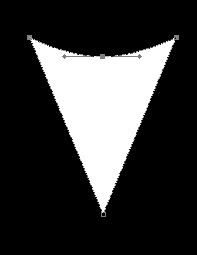 Make several copies of the last made element, placing the copies the way you may see below. The copies may be done, pressing the combination of buttons (Ctrl+J). The turning over and the elements’ corrections may be done with (Ctrl+T).
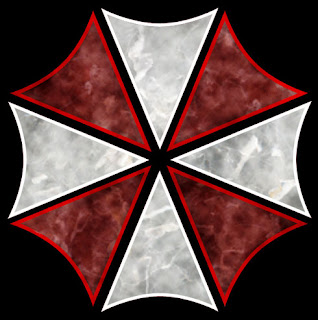
 Changing the color of four figures, we’ll get an umbrella.
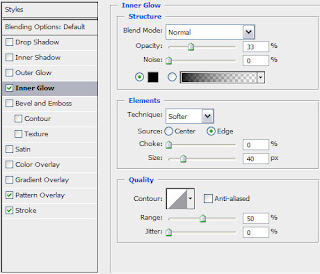
 Set the next shown parameters for each element, making a mouse click on the layer in layers’ palette (Blending Options>Inner Glow).
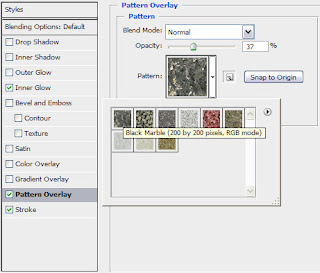
Choose the next Pattern Overlay now:
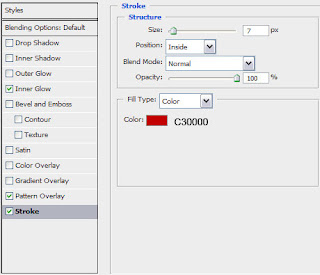
 Blending Options>Stroke
 You should get the next result:
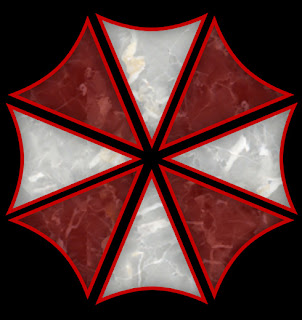 Change the Blending Options>Stroke parameter on the white color on four next shown figures:
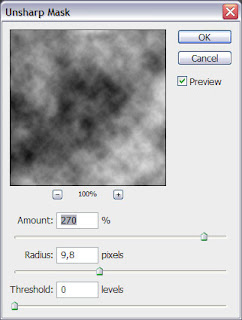
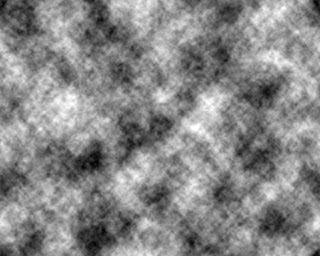
 Create a new layer and fill it with black color. Select also Filter>Render>Clouds






No comments:
Post a Comment