For the beginning we need to have installed the Adobe Photoshop CS4 Extended. Then create a new file (File>New) of 1280x1024 px and 72 dpi. Next select the Rectangle Tool (U) to represent the background of the picture to be.
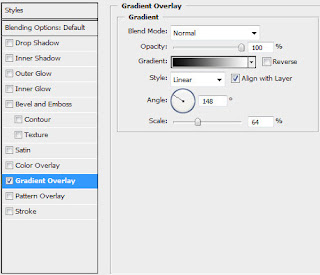
Choose next demonstrated parameters by making a mouse click on the layer on the layers’ panel. Blending Options>Gradient Overlay
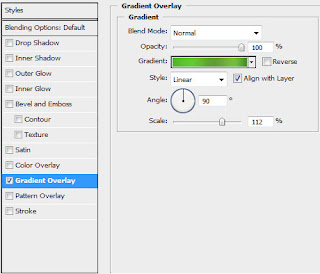
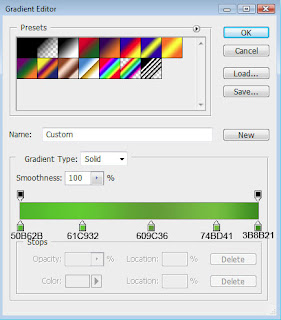
Gradient’s parameters:

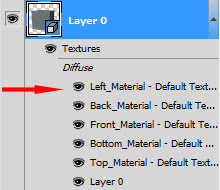
Try representing a new file (File>New) of 400x400 px and 72 dpi. Select after that this option in the menu: 3D>New Shape From Layer>Cube
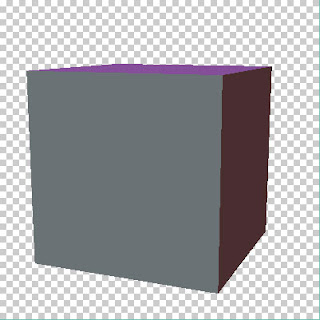
Clicking on the layers of the sides we need, we may paint them out with the
Paint Bucket Tool (G) with the color #9DA8AE
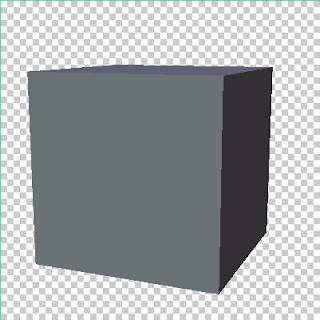
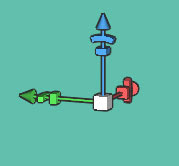
Select the 3D Rotate Tool (K), to change the cube’s dimensions and its foreshortening, using the axes of the coordinates.
Try to get the same shape from below:
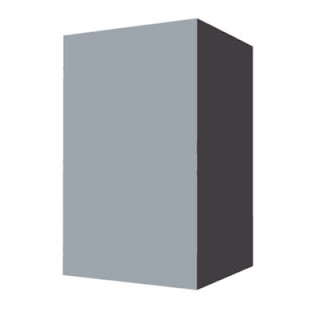
Select after that the Lock transparent pixel option (on the layers’ panel) and the
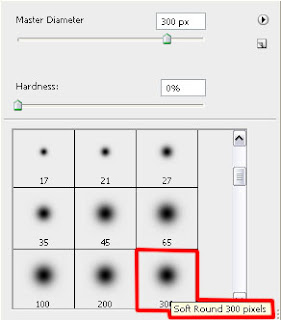
Brush Tool (B) of black color (Opacity 30%) to paint the edges of each border. Select on 3D layer the option Render for Final output.
Next we need to rasterize our cube element by making a click on the right mouse’s button on 3D layer. You may find it on the layers’ panel, choosing there Raseterize 3D option. Insert the result on our basic picture.
Represent somewhere aside the layers belonging to the dynamics to be, using for this operation the
Ellipse Tool (U).
The layer’s parameters: Blending Options>Gradient Overlay
Gradient’s parameters:
 Choose next demonstrated parameters by making a mouse click on the layer on the layers’ panel. Blending Options>Gradient Overlay
 Gradient’s parameters:
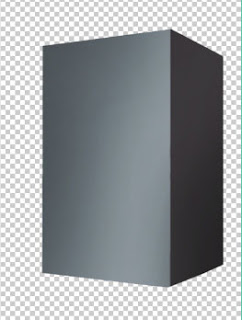
 Try representing a new file (File>New) of 400x400 px and 72 dpi. Select after that this option in the menu: 3D>New Shape From Layer>Cube
 Clicking on the layers of the sides we need, we may paint them out with the Paint Bucket Tool (G) with the color #9DA8AE
 Select the 3D Rotate Tool (K), to change the cube’s dimensions and its foreshortening, using the axes of the coordinates.
 Try to get the same shape from below:
  Select after that the Lock transparent pixel option (on the layers’ panel) and the Brush Tool (B) of black color (Opacity 30%) to paint the edges of each border. Select on 3D layer the option Render for Final output.
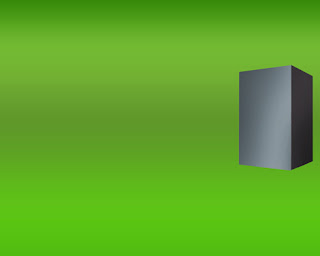
 Next we need to rasterize our cube element by making a click on the right mouse’s button on 3D layer. You may find it on the layers’ panel, choosing there Raseterize 3D option. Insert the result on our basic picture.
 Represent somewhere aside the layers belonging to the dynamics to be, using for this operation the Ellipse Tool (U).
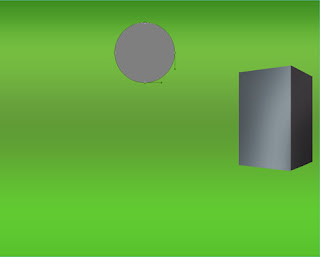
 The layer’s parameters: Blending Options>Gradient Overlay
 Gradient’s parameters:

No comments:
Post a Comment