Ellipse Tool (U).
 Use the ellipse tool to draw ovals and circles. To draw a circle, hold down the Shift key while dragging. Double-click the ellipse tool to open the Color inspector.'); return false" href="javascript:void(0)">Ellipse Tool (U) to represent a highlight:
 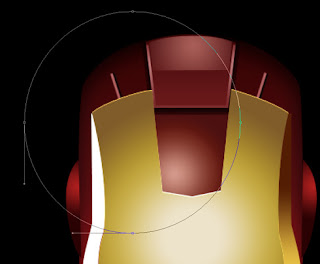 The layer’s parameters: Opacity 33%, Fill 0%
Blending Options>Gradient Overlay
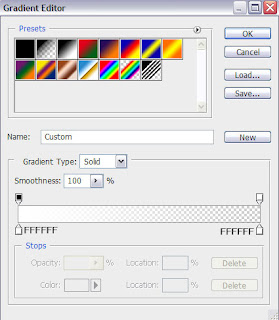
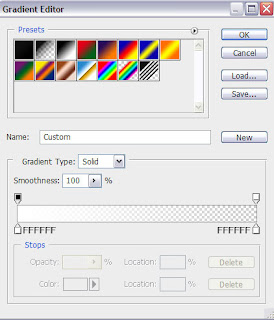
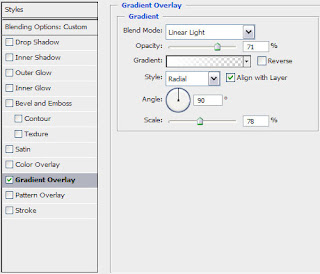 Gradient’s parameters:
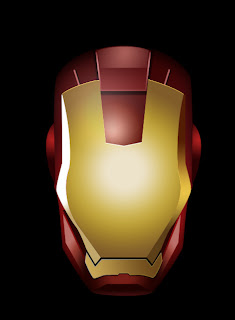 Using the Pen Tool (P)
Pen Tool (P).
 allows you to make lines that change colour and shapes on the project.'); return false" href="javascript:void(0)">Pen Tool (P) and the Convert Point Tool, try to make another element on Iron Man’s head:
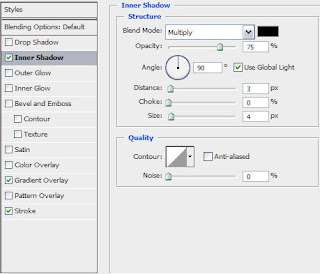
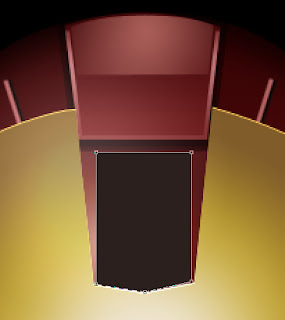 The layer’s parameters: Blending Options>Inner Shadow
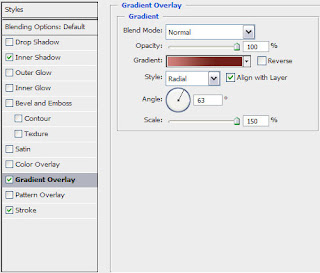
 Blending Options>Gradient Overlay
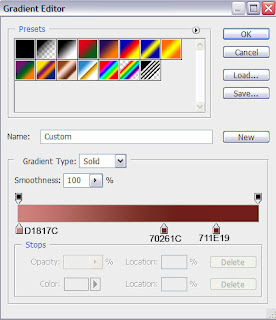
 Gradient’s parameters:
 Blending Options>Stroke
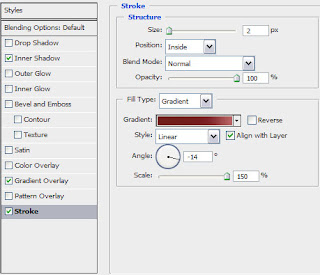 Gradient’s parameters:
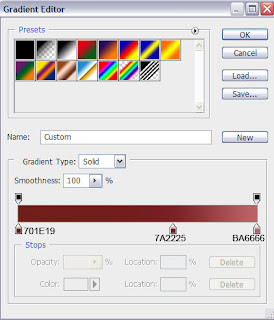
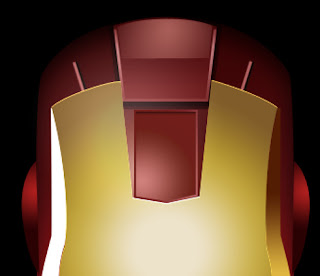 Next we have to make the openings for the eyes. Let’s use this time the line tool too (the same way described above) for keeping the asymmetry. The tools applied in this case are the well known Pen Tool (P) and the Convert Point Tool. The layer’s color in this case is black.
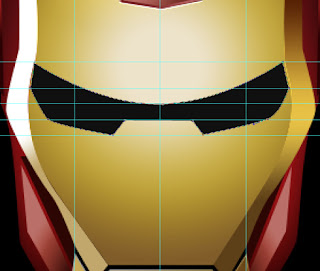 The layer’s parameters: Blending Options>Drop Shadow
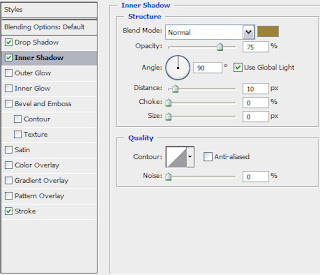
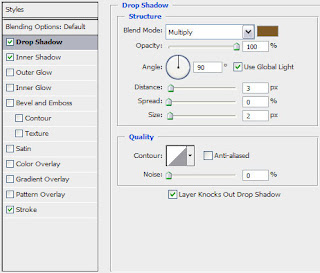 Blending Options>Inner Shadow
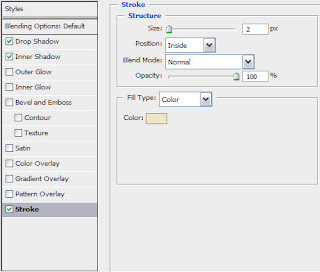
 Blending Options>Stroke
 Applying the above mentioned tools, it’s possible to represent the first eye on the head:
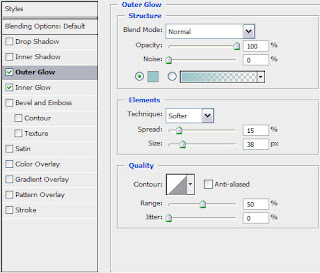
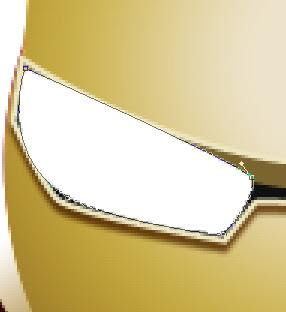 The layer’s parameters: Blending Options>Outer Glow
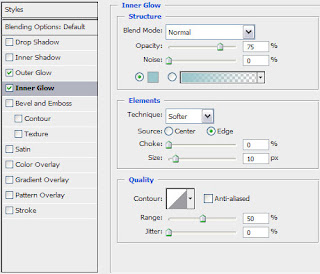
 Blending Options>Inner Glow
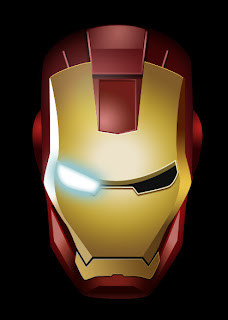 Make a copy of the earlier made layer containing the eye. Applying the Free Transform option, it’s possible to turn around the copy’s layer and situate it the way indicated next image:
 Mark out the face’s contours, choosing for this operation the Pen Tool (P) and the Convert Point Tool (for the appropriate corrections).
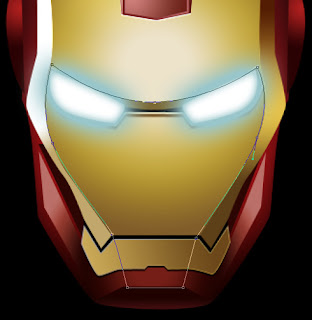 The layer’s parameters: Fill 0%
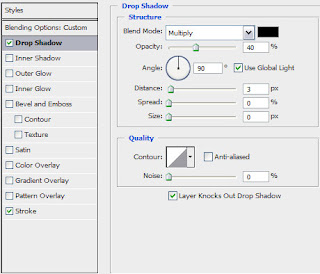
Blending Options>Drop Shadow
 Blending Options>Stroke
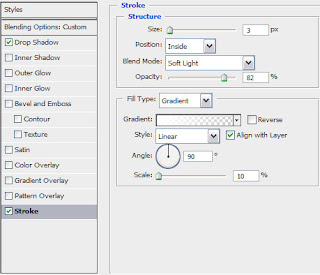 Gradient’s parameters:
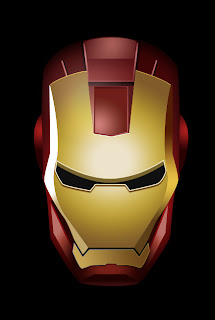
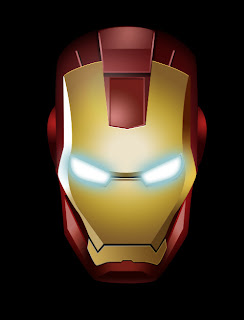
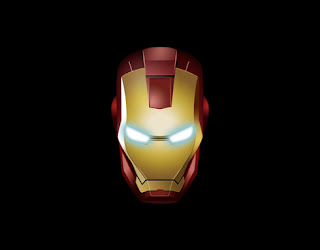 The final result!
No comments:
Post a Comment