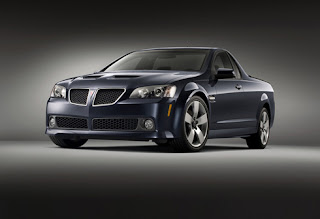
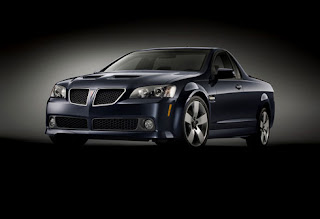
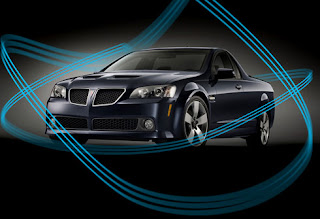
Start working with picture of a Pontiac G8 car (I use this
image), having the sizes of 1280x876px and 72 dpi.
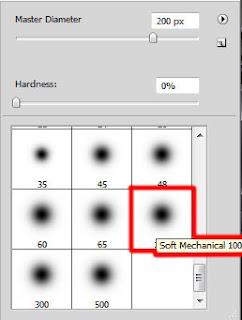
On a new layer (Create new layer) we’ll select the
Brush Tool (B) to dark out the bottom part of the picture, choosing the black color for this operation.
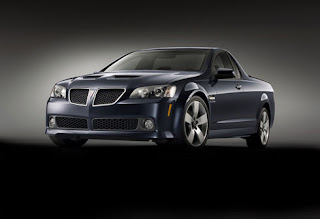
Using the Rectangle Tool (U), begin darkening the general picture’s nuance.
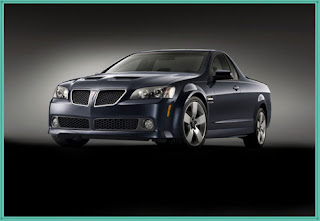
Set the next demonstrated parameters by making a mouse click on this layer on the layers’ palette. Fill 0%, Blending Options>Gradient Overlay
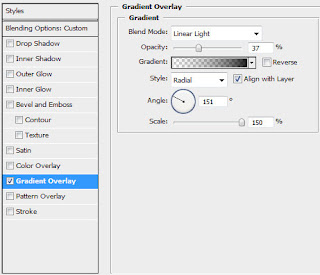
Gradient’s parameters:

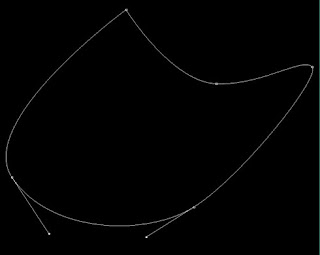
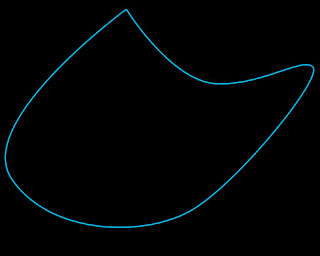
Next we’ll represent a separate file of 1280x1024 px and 72 dpi, applying on it the
Pen Tool (P) and the Convert Point Tool for drawing an element, like the one from below:
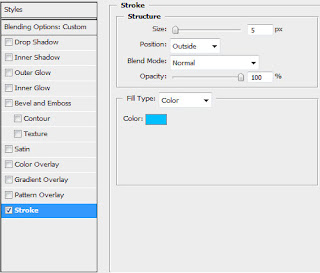
The layer’s parameters: Fill 0% Blending Options>Stroke
Next try rasterizing the element’s layer. In this case we’ll need creating a new layer and then while pressing CTRL button, mark out the corresponding layers and then press CTRL+E. For this layer we’ll choose also the option Filter>Blur>Motion blur


Make two copies of the last layer. Press Ctrl+Alt buttons and click two times the button on the keyboard indicating downwards direction. Using the Free Transform option, situate the copies as they are on the picture:
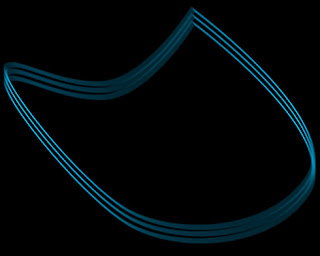
Put together the layers containing the lines (press CTRL button to mark out the corresponding layers and then press CTRL+E). The black background is convenient in this case, it just doesn’t exist. Place on it only the paste together lines’ layers.
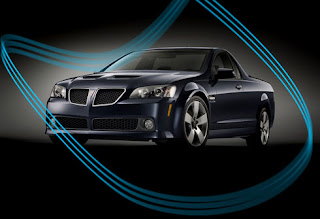
Make a copy of this layer and use the Free Transform option to turn over the copies and compress them a little by vertical direction.
Clean out that part of the lines situating in front of the car. We’ll just make a mouse click on the layers’ palette on each of the lines’ layers on Add a Mask selection and use a standard brush of black color to clean those fragments we are interested in.
Create a new layer under the lines’ layers where we’ll apply a standard brush to represent an illuminating nuance by outlining accurately the lines. The brush’s color is #287C96

Blending mode-Lighten
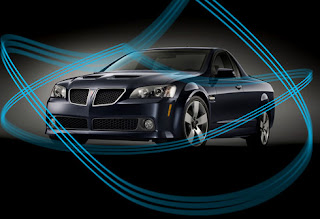
Create a new layer above all the made layers which must be processed with the
Paint Bucket Tool (G) and filled with the color #05789A

The layer’s parameters: Blending mode-Soft Light
Insert the car model’s name (I use this
font), leaving a space for the logotype too:

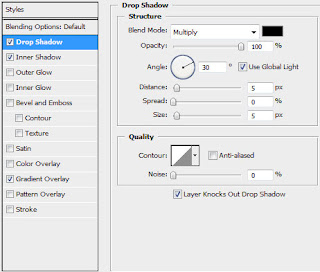
The layer’s parameters: Blending Options>Drop Shadow
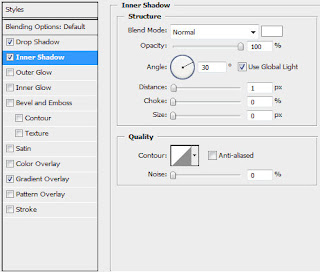
Blending Options>Inner Shadow
Blending Options>Gradient Overlay
 On a new layer (Create new layer) we’ll select the Brush Tool (B) to dark out the bottom part of the picture, choosing the black color for this operation.
 Using the Rectangle Tool (U), begin darkening the general picture’s nuance.
 Set the next demonstrated parameters by making a mouse click on this layer on the layers’ palette. Fill 0%, Blending Options>Gradient Overlay
 Gradient’s parameters:
 The layer’s parameters: Fill 0% Blending Options>Stroke
 Next try rasterizing the element’s layer. In this case we’ll need creating a new layer and then while pressing CTRL button, mark out the corresponding layers and then press CTRL+E. For this layer we’ll choose also the option Filter>Blur>Motion blur
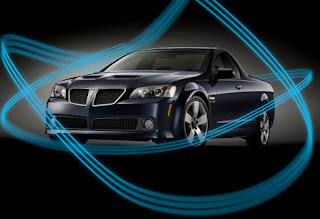
 Make two copies of the last layer. Press Ctrl+Alt buttons and click two times the button on the keyboard indicating downwards direction. Using the Free Transform option, situate the copies as they are on the picture:
 Put together the layers containing the lines (press CTRL button to mark out the corresponding layers and then press CTRL+E). The black background is convenient in this case, it just doesn’t exist. Place on it only the paste together lines’ layers.
 Make a copy of this layer and use the Free Transform option to turn over the copies and compress them a little by vertical direction.
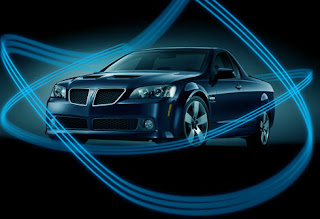
 Clean out that part of the lines situating in front of the car. We’ll just make a mouse click on the layers’ palette on each of the lines’ layers on Add a Mask selection and use a standard brush of black color to clean those fragments we are interested in.
 Create a new layer under the lines’ layers where we’ll apply a standard brush to represent an illuminating nuance by outlining accurately the lines. The brush’s color is #287C96
  Blending mode-Lighten
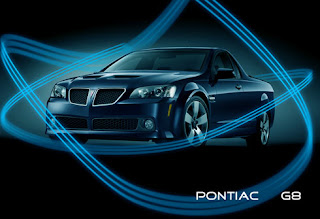
 Create a new layer above all the made layers which must be processed with the Paint Bucket Tool (G) and filled with the color #05789A
 The layer’s parameters: Blending mode-Soft Light
 Insert the car model’s name (I use this font), leaving a space for the logotype too:
 The layer’s parameters: Blending Options>Drop Shadow
  Blending Options>Inner Shadow
  Blending Options>Gradient Overlay
No comments:
Post a Comment