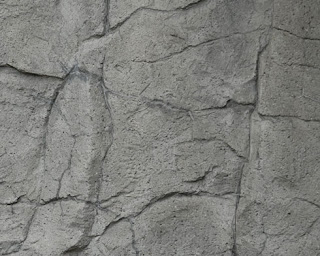
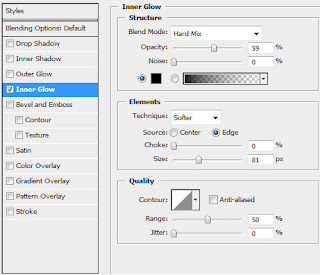
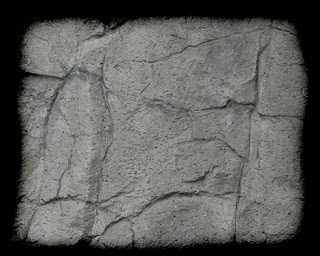
 Follow the next layer’s parameters by making a mouse click on this layer on the layers’ palette. Blending Options>Inner Glow
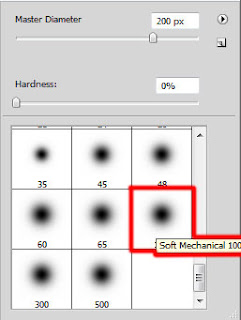
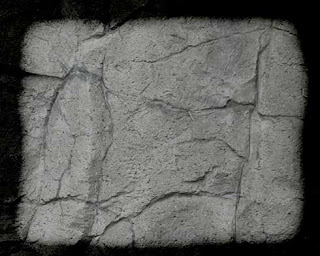 Click on Add a Mask selection on the same layer on the lowest part of the layers’ palette and then select the Brush Tool (B) to dark out the picture’s edges.
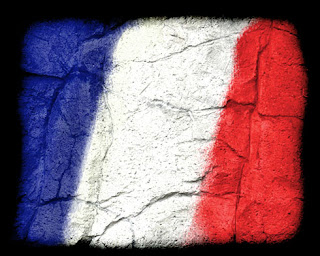
 Next we’ll use the flag of France as a model for the picture to be:
 Create a new layer and use on it the standard brush (firstly with accurate edges and then the one indicated below for outlining the edges between the colors). We need to paint out on an inclined direction the flag’s layer.
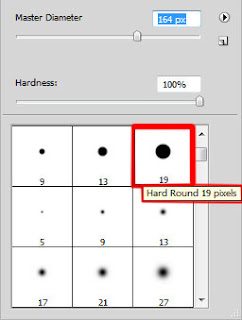
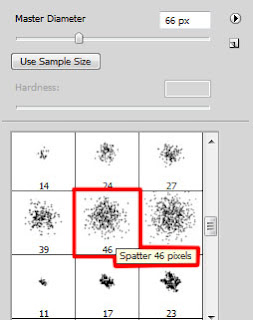
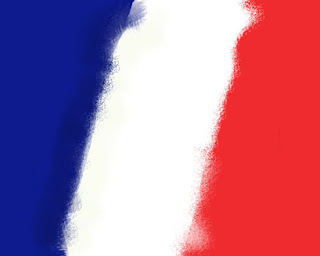 The layer’s parameters: Blending mode-Overlay
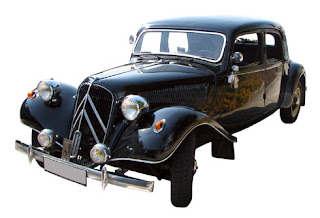
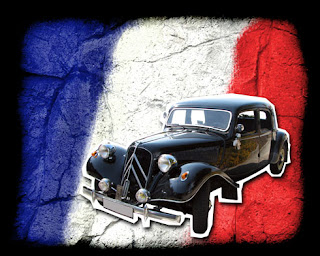
 Find a picture having represented on it the old CITROEN car (I use this image from sxc.hu).
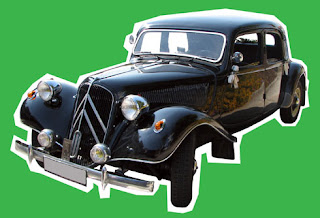
Cut out roughly the car and insert it on our picture:
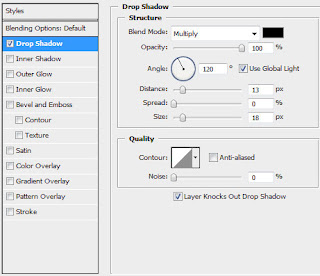
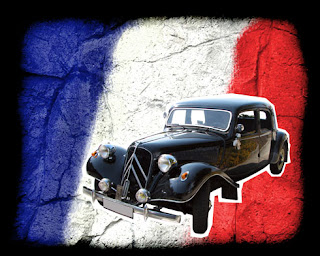 Select the next parameters for the car’s layer: Blending Options>Drop Shadow
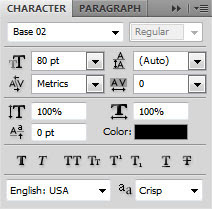
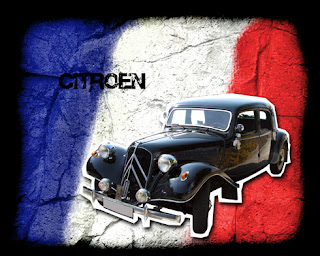
 Next we’ll download from dafont.com the font named Base 02 which must be used when inserting the car’s name:


No comments:
Post a Comment