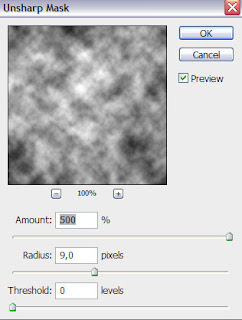
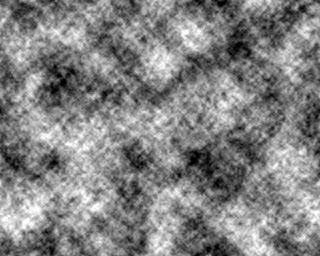
… and also Filter>Sharpen>Unsharp Mask
The last layer needs the parameters from next image: Blending mode-Soft Light

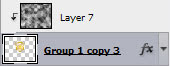
Press Alt button while making a mouse click between the layers containing the clouds’ effect and the top layer belonging the transformer’s head (on the layers’ panel).

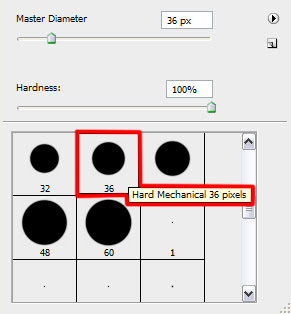
Create a new layer again on which we’ll apply a standard brush of black color with the Opacity of 80% for darkening out the transformer’s eyes. This layer must be situated above the background’s layer, but lower than the layers composing the head of the robot:

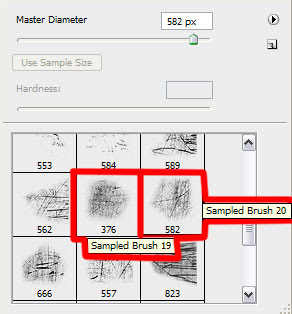
Next step includes downloading a set of ready to use brushes for Adobe Photoshop, named:
Scratchy_grunge. Create a new layer on which we’ll just apply these brushes, choosing for them black color.
Make a mouse click on the same layer on the bottom part of the layers’ panel on Add a Mask selection and choose the usual
Brush Tool (B) of black color to move off very attentively the coming outside parts of brushes on the head’s edges:


Set the next shown parameters for the same layer: Blending mode-Overlay

Now it’s time to introduce the text on our picture. The text’s layer needs to be placed above the background’s layer, but lower than the layers composing the transformer’s head (use this
font):

 The last layer needs the parameters from next image: Blending mode-Soft Light
 Press Alt button while making a mouse click between the layers containing the clouds’ effect and the top layer belonging the transformer’s head (on the layers’ panel).
 Create a new layer again on which we’ll apply a standard brush of black color with the Opacity of 80% for darkening out the transformer’s eyes. This layer must be situated above the background’s layer, but lower than the layers composing the head of the robot:
 Next step includes downloading a set of ready to use brushes for Adobe Photoshop, named: Scratchy_grunge. Create a new layer on which we’ll just apply these brushes, choosing for them black color.
 Make a mouse click on the same layer on the bottom part of the layers’ panel on Add a Mask selection and choose the usual Brush Tool (B) of black color to move off very attentively the coming outside parts of brushes on the head’s edges:
 Set the next shown parameters for the same layer: Blending mode-Overlay
 Now it’s time to introduce the text on our picture. The text’s layer needs to be placed above the background’s layer, but lower than the layers composing the transformer’s head (use this font):
 The layer’s parameters: Blending Options>Drop Shadow
  Blending Options>Bevel and Emboss
 Make a copy of the layer containing the clouds’ effect and place this copy above the text’s layer:
 Do the next demonstrated manipulations for the copy for it to be applied only for the text (press Alt button while making a mouse click between the layers). Set also the next shown layer’s effects: Blending mode-Vivid Light Blending Options>Gradient Overlay
 Gradient’s parameters:
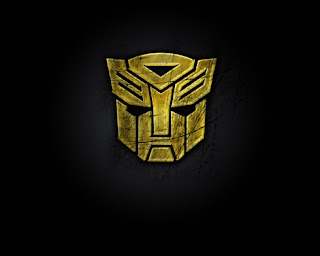
 The final result!
No comments:
Post a Comment