 Next find a car on your wish and move off its background, applying the Eraser Tool (E).
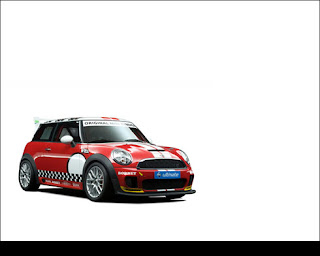
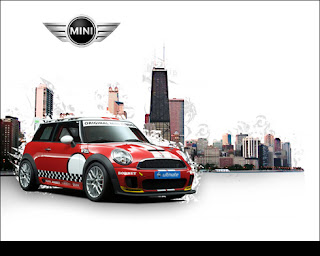
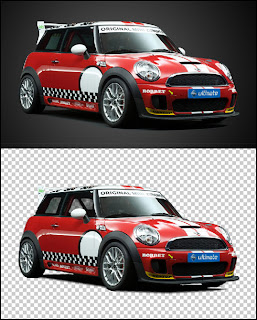 Place the car on our canvas:
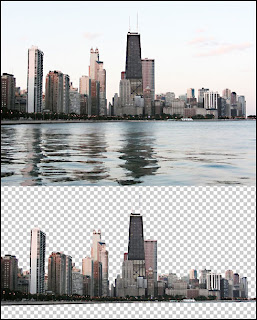
 Use picture of a city with a horizontal line and cut it out the same way we did with the car:
 Place the new picture behind the car:
Choose out the next demonstrated option (Create new fill or adjustment layer) on the layers’ panel:
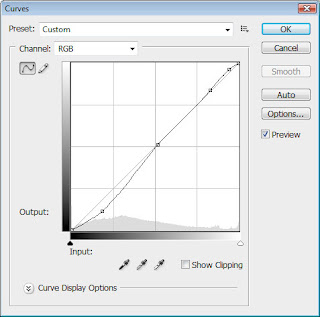
 Select the Curves ... option and set it the same way from below:
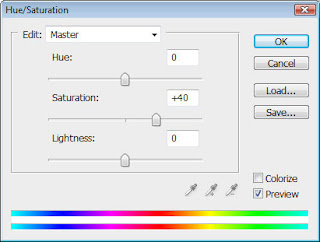
Insert also one more adjustment layer named Hue/Saturation.
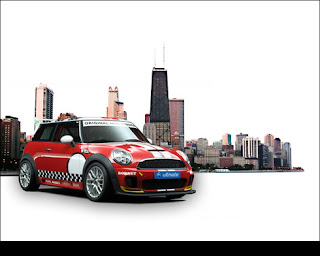
Create a new layer, situating it under the layer containing the car and try to represent a shadow with black brush and blurred edges. The Opacity should be on 10%.
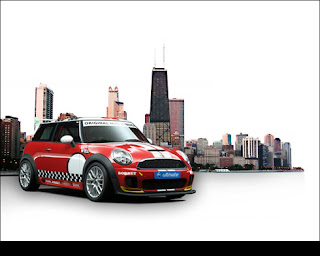
 Represent the same way now the city’s shadow:
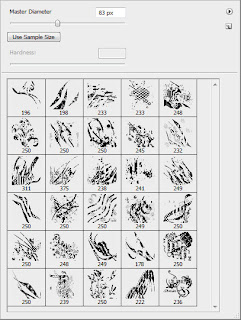
Download the brushes named (lilmil splatter brushes)



No comments:
Post a Comment