Create a new file (File>New) of 1680x1050px and 300dpi. Using the Paint Bucket Tool (G), give the new file black color.
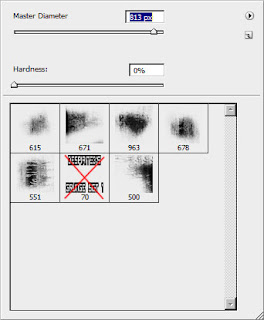
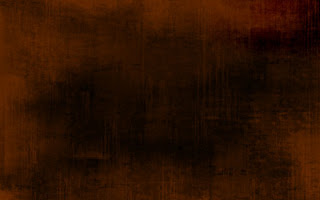
 Download a set of ready to use brushes for Adobe Photoshop: D_Grungeset1. We shall apply all the brushes, except the one marked with red cross for representing the background of the picture we want to have in the end. The brush’s color is #532100. Opacity 20%
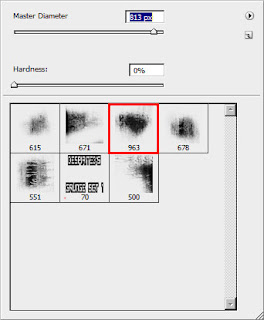
 Use now the brush indicated below to represent the background’s nuance on the bottom part of the picture. This brush we’ll apply for other elements too. Its color is #04020F. Opacity: 20%.
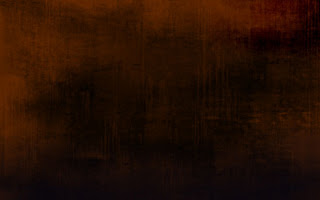 Create a new layer where we shall apply the earlier mentioned brush but with a larger diameter.
 On the next layer (Create new layer) we’ll use the same brush, but of white color to represent the effect of the smoke on the bottom part of the picture. The Opacity is of 10%
 Set the next shown parameters for the layer by making a mouse click on the layer on the layers’ panel. Fill 36% Blending mode-Pin Light
 Use the above mentioned brush (Opacity 10%) to draw the black clouds on the top part of the picture:
 Find a picture containing Sci-Fi soldier (I use this picture).
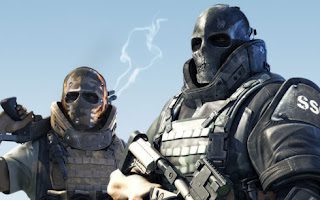 Cut them out and insert the characters on our basic picture:
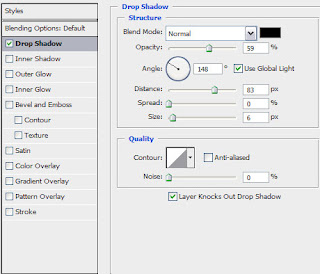
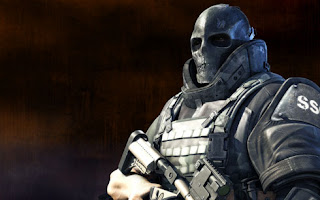 Select the next demonstrated parameters for the layer containing the characters: Blending Options>Drop Shadow
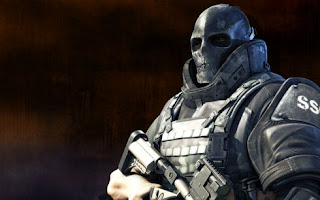 Make a mouse click on the bottom part of the layers’ panel on Create new fill or adjustment layer>Hue/Saturation
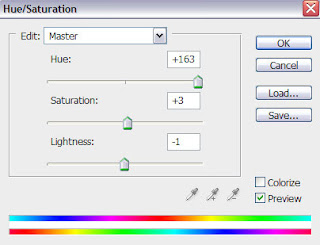

Press Alt button to make a mouse click between the layers of the characters’ photo and the layer with the effect Hue/Saturation (on the layers’ panel).

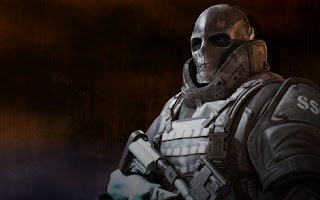
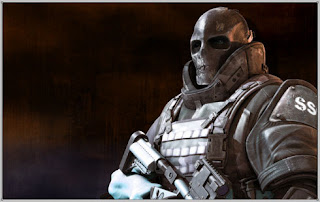 Represent a kind of darkening, applying in this case the Rectangle Tool (U).
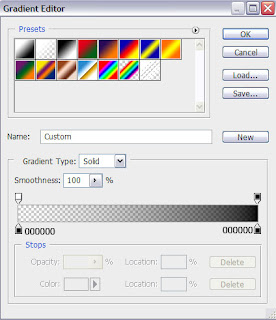
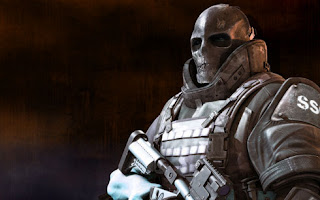 The layer’s parameters: Fill 0% Blending Options>Gradient Overlay
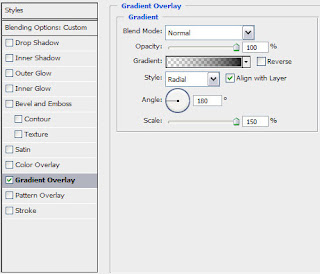 Gradient’s parameters:
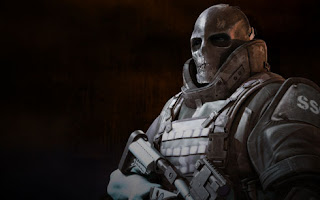 Keep pressed Alt button while making a mouse click between the layer with the darkening and the previous layer (on the layers’ panel).
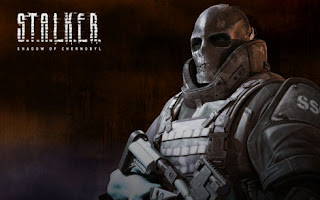 Set the next demonstrated parameters for the layer containing the logotype. Blending Options>Drop Shadow


No comments:
Post a Comment