 Applying the Rectangle Tool (U), try to make a horizontal line above the introduced name, colored with #A6A6A6
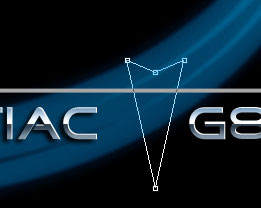
 Next we’ll represent the primary layer reserved for the logotype, using this time the Pen Tool (P).
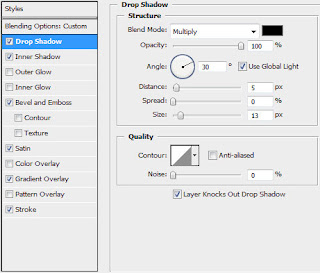
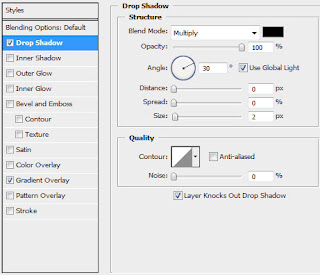
 The layer’s parameters: Fill 0% Blending Options>Drop Shadow
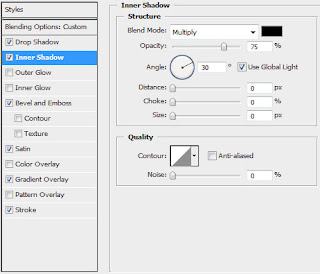
Blending Options>Inner Shadow
 Blending Options>Bevel and Emboss
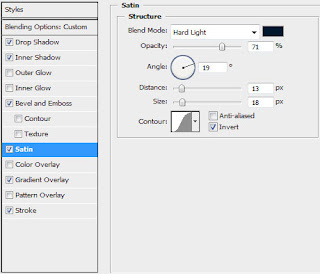
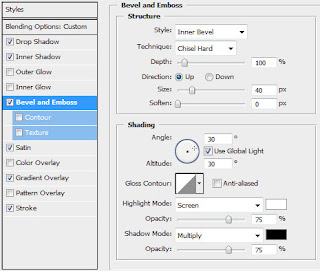 Blending Options>Satin
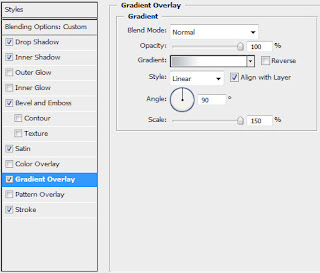
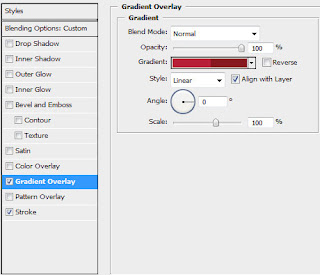
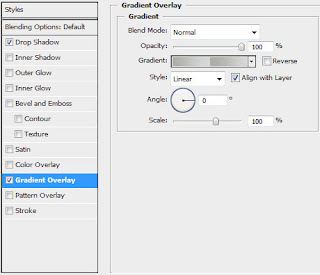
 Blending Options>Gradient Overlay
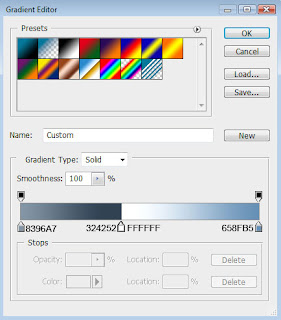
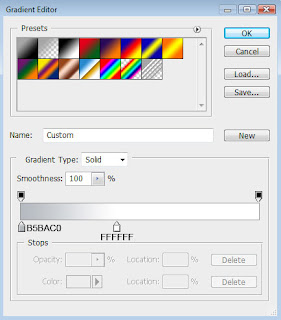
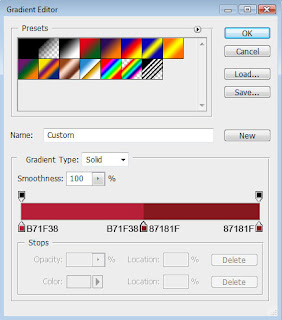
 Gradient’s parameters:
Blending Options>Stroke
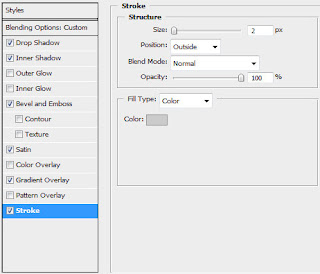
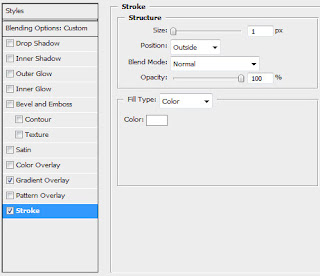
 Make a copy of the recently made layer and select Free Transform option to make the copy smaller, changing also the layer’s parameters:





No comments:
Post a Comment